
Want to showcase your gorgeous gallery images directly in your Klaviyo email campaigns? This guide will walk you through setting up a custom web feed that pulls your latest Covet.pics content into your emails!
Heads up! This is considered an advanced customization, and is not supported. While many of our customers use this successfully, our support team can't provide detailed troubleshooting for Klaviyo-specific issues. For more information, you can also check Klaviyo's official guide.
Setting Up Your Covet.pics Feed in Klaviyo
Step 1: Create a Web Feed in Klaviyo
- Log into your Klaviyo account
- Navigate to Settings → Data Feeds tab
- Click the Add Web Feed button
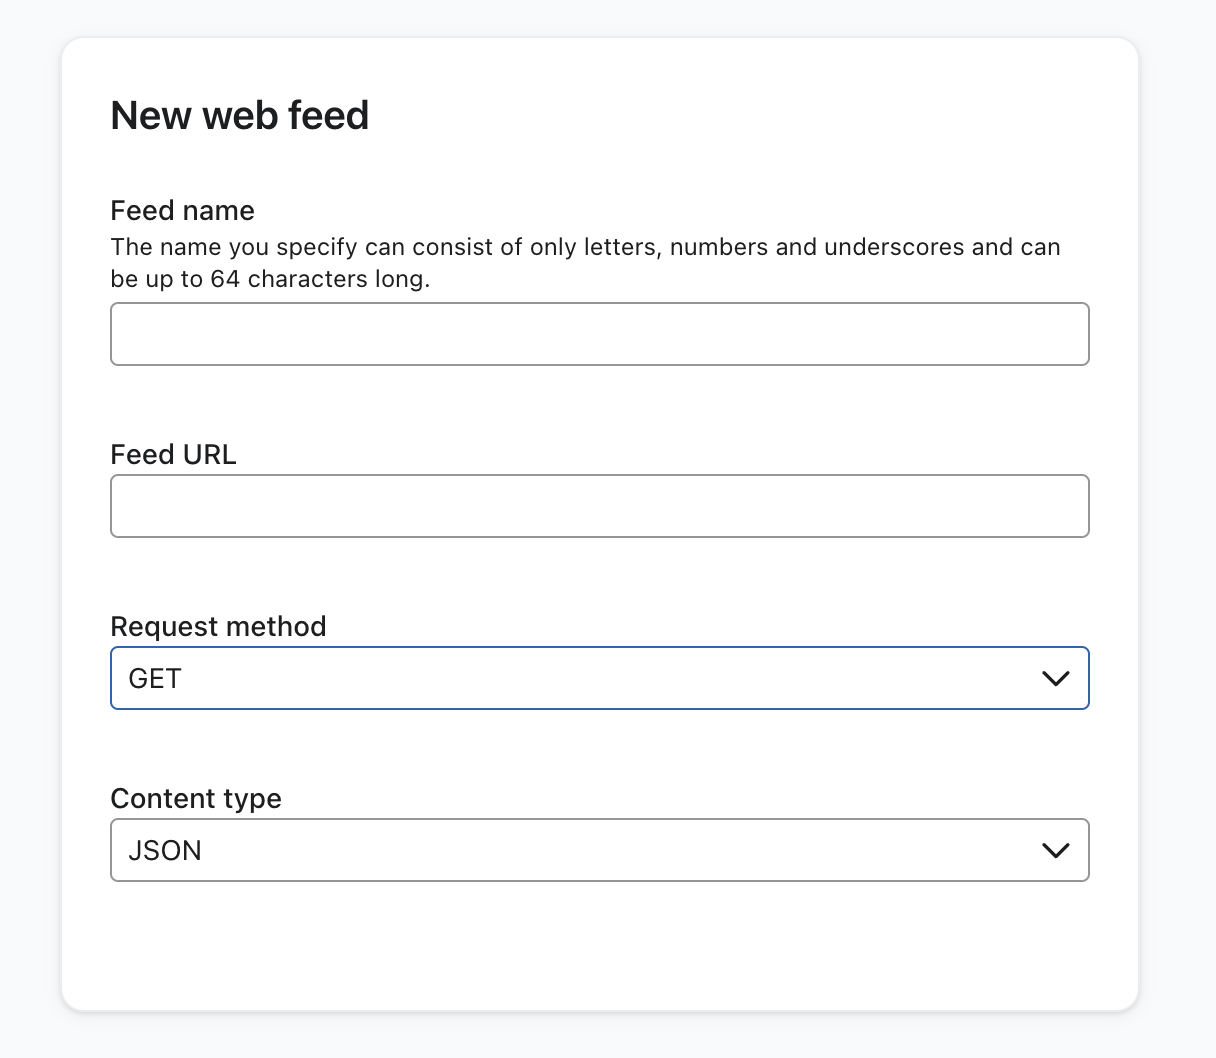
Step 2: Configure Your Feed
Fill in these details:
- Feed Name: Something simple like "Covet" or "CovetGallery"
- Feed URL:
https://app.covet.pics/api/v1/embed/YOUR_EMBED_NUMBERTo find your embed number:- Go to your gallery in Covet.pics
- Click "Embed to Website"
- Look in the code for a number after "embed/" (it's usually 5-6 digits)
- Example: If your embed code contains
https://app.covet.pics/api/v1/embed/123456, then "123456" is your embed number
- Request Method: Leave as "GET"
- Content Type: Leave as "JSON"
- Click Add Web Feed
Step 3: Add the Feed to Your Campaign
- Go to Campaigns
- Select or create the campaign you want to add your gallery to
- Click to edit the content
- Scroll down and click the Data Feeds button at the bottom of the page
- Enable your "Covet" data feed
- Click Save
Step 4: Add the Gallery Grid to Your Email
- Create a new text block in your email where you want the gallery to appear
- Click the <> Source button in the text editing toolbar
- Copy and paste this code for a 3×3 grid layout:
<table>
  <tbody>
    <tr>{% for item in feeds.Covet.items|slice:"9" %}
      {% if item.cover_images.medium_resolution == blank %}
        <td style="width: 200px; height: 200px; background-image: url({{ item.images.medium_resolution }}); background-position: 50%; background-size: cover;" > </td>
      {% else %}
        <td style="width: 200px; height: 200px; background-image: url({{ item.cover_images.medium_resolution }}); background-position: 50%; background-size: cover;"> </td>
      {% endif %}
      {% if forloop.last %}
    </tr>
    {% else %}{% if forloop.counter|divisibleby:"3" %}
    </tr><tr>{% endif %}{% endif %}{% endfor %}
  </tbody>
</table>
- Click Save on the text block
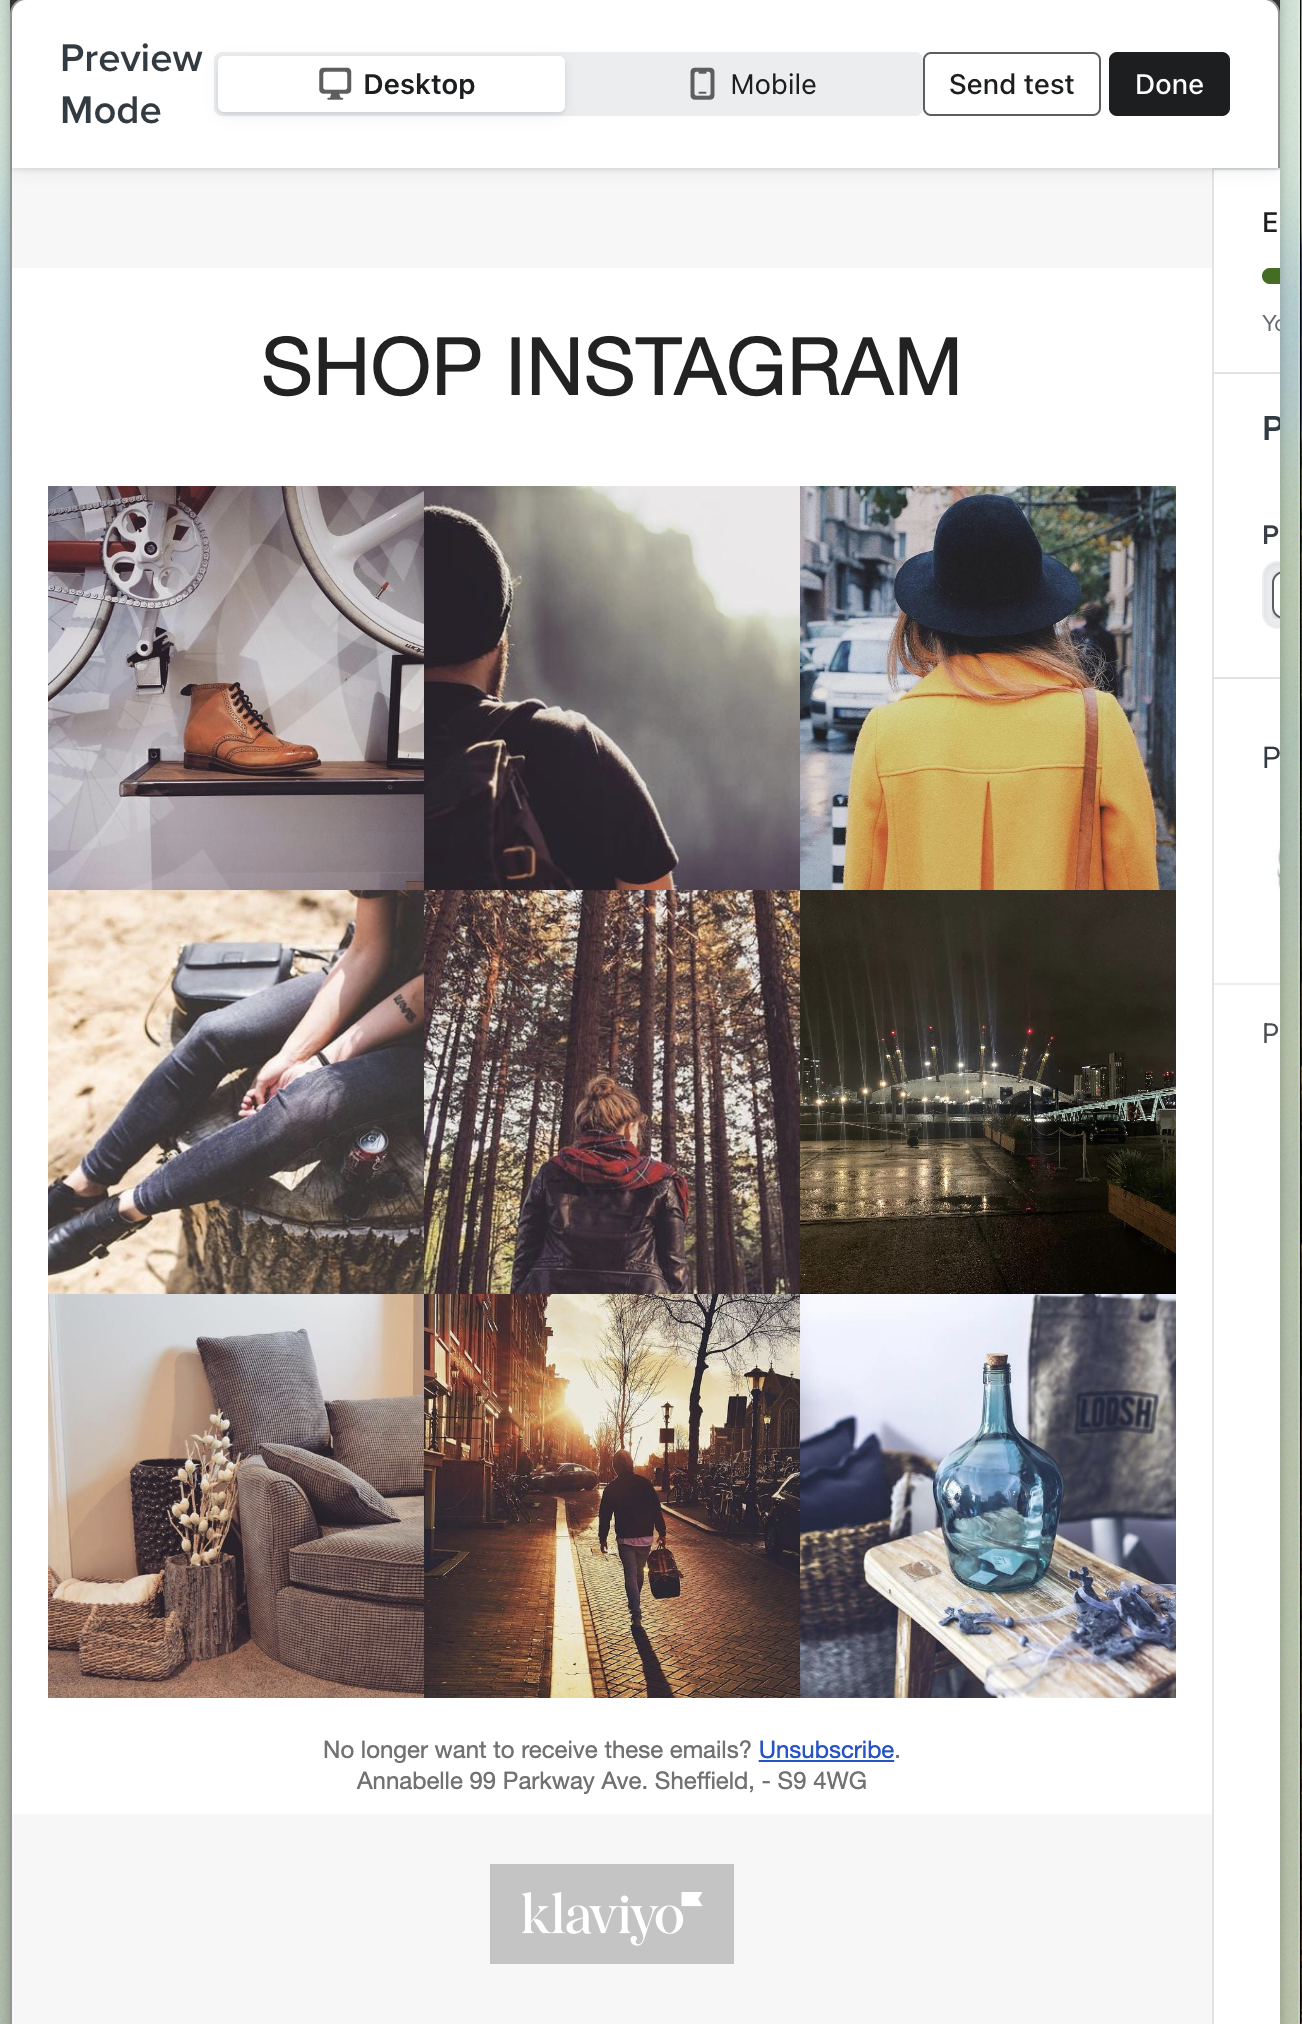
Step 5: Preview and Test
- Preview your email to see how the gallery looks
- You should see a 3×3 grid of your latest Covet.pics images
- Always send a test email to yourself before sending to your customers!
Customization Options
Want a different layout? You can modify the code:
- For a 2×2 grid: Change
slice:"9"toslice:"4"and changedivisibleby:"3"todivisibleby:"2" - For a single row of 3 images: Change
slice:"9"toslice:"3"and remove the entire{% if forloop.counter|divisibleby:"3" %}section